On the Wearing of Masks

Since shortly after I returned in March, I’ve been mostly isolating myself. I haven’t gone to my place of business since early April(working remotely). I hopped from my apartment to hiding at my family’s home in upstate New York, and now I’m hiding out at my parent’s apartment.

During all this, I have not left the house without wearing a mask, fitted over my nose and mouth. I find masks uncomfortable to wear. Even in cases where I pulled it down outside, when no one but my immediate family was around, if anyone else approached, I pulled it back up.

From others, however, I’ve seen a casual attitude toward the wearing of masks and the downplaying of this. Forcing people to wear a mask during a pandemic is an acceptable infringement on their personal liberties. Society in general is a shared consensus to agree on limitations of personal freedom. If you want absolute freedom, to do anything and everything, we call that anarchy.

I tend to take a centrist point of view to most things. So, let’s accept that some people do not want to wear masks and do not believe in it, and others do.

If you fall into the maskless category, and you encounter someone who is choosing to wear a mask, you can:

  • Approach them or otherwise infringe on their six foot bubble as if nothing was happening.
  • Give them the six feet of distance their mask indicates they want from you
  • If you carry one, pull your mask up till you are out of their presence.

Out of these three categories, the only one I object to is the first. So, you don’t believe in wearing a mask….respect those who do. This is what we call courtesy and decency. It applies regardless of belief. You can’t claim ignorance of social distancing as a thing in the current environment.

I personally believe that wearing a mask protects both parties. It isn’t a 100% solution, but what is?

So, if I want to avoid people who won’t respect my beliefs, I could either constantly be vigilant any time I leave my safe zone, which I am…or, as some of those people would suggest, if I don’t like it, I can just lock myself up till this is over.

I’m looking forward to the time where my face can be seen freely in public. However, until then…kindly put on a mask(over the nose and mouth) any time you are within six feet of me, or make an effort to give me space.

Lion Country Safari

On Wednesday, went to Lion Country Safari, which is a drive-thru safari park and a walk-through park in Palm Beach County. Due to the pandemic, only the drive-thru portion is open right now.

Lion Country Safari dates from 1967. The park consists of over 1000 animals in seven sections. Most animals can come directly up to the car, the exception being the lions, who were separated from the public by a fence in 2005 because visitors would not follow instructions and keep their doors and windows closed.

There were previously five other Lion Country Safaris operated by them, but the last closed in the 90s. There are several other companies offering a similar product in various parts of the US. It seems like a great business in the pandemic. You never have to touch anyone.

I was a bit surprised that their solution for contactless payment is eventbrite, but it worked out.


The AutoTrain – November 2020

In a normal non-pandemic situation, my parents would spend the winter in their place in Florida, and come to New York in the spring/summer. They would move freely. They came to New York early in the pandemic in March. However, with the weather in New York turning, they wanted to return to Florida.

Unwilling to travel by plane, they opted for ground transit to Florida. the best option for this, without having to drive the roughly 1300 miles, is the Auto Train.

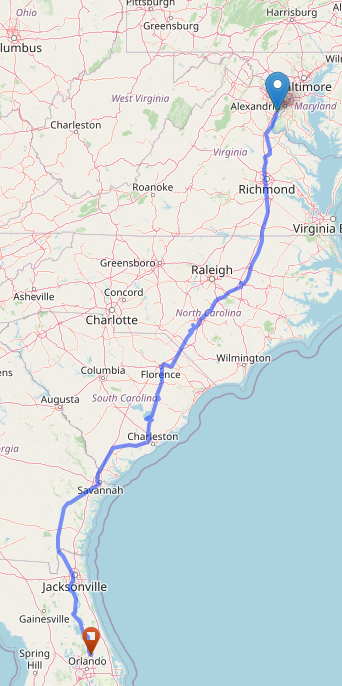
Map of Autotrain Route
Map of Autotrain route, captured from my Cell Phone

The Auto Train runs from Lorton, VA, near Washington DC to Sanford, FL which is near Orlando. It makes one rest stop for crew at the halfway point in Florence, SC. There are no passenger stops.

One train operates in each direction daily, leaving its terminus at the same time.

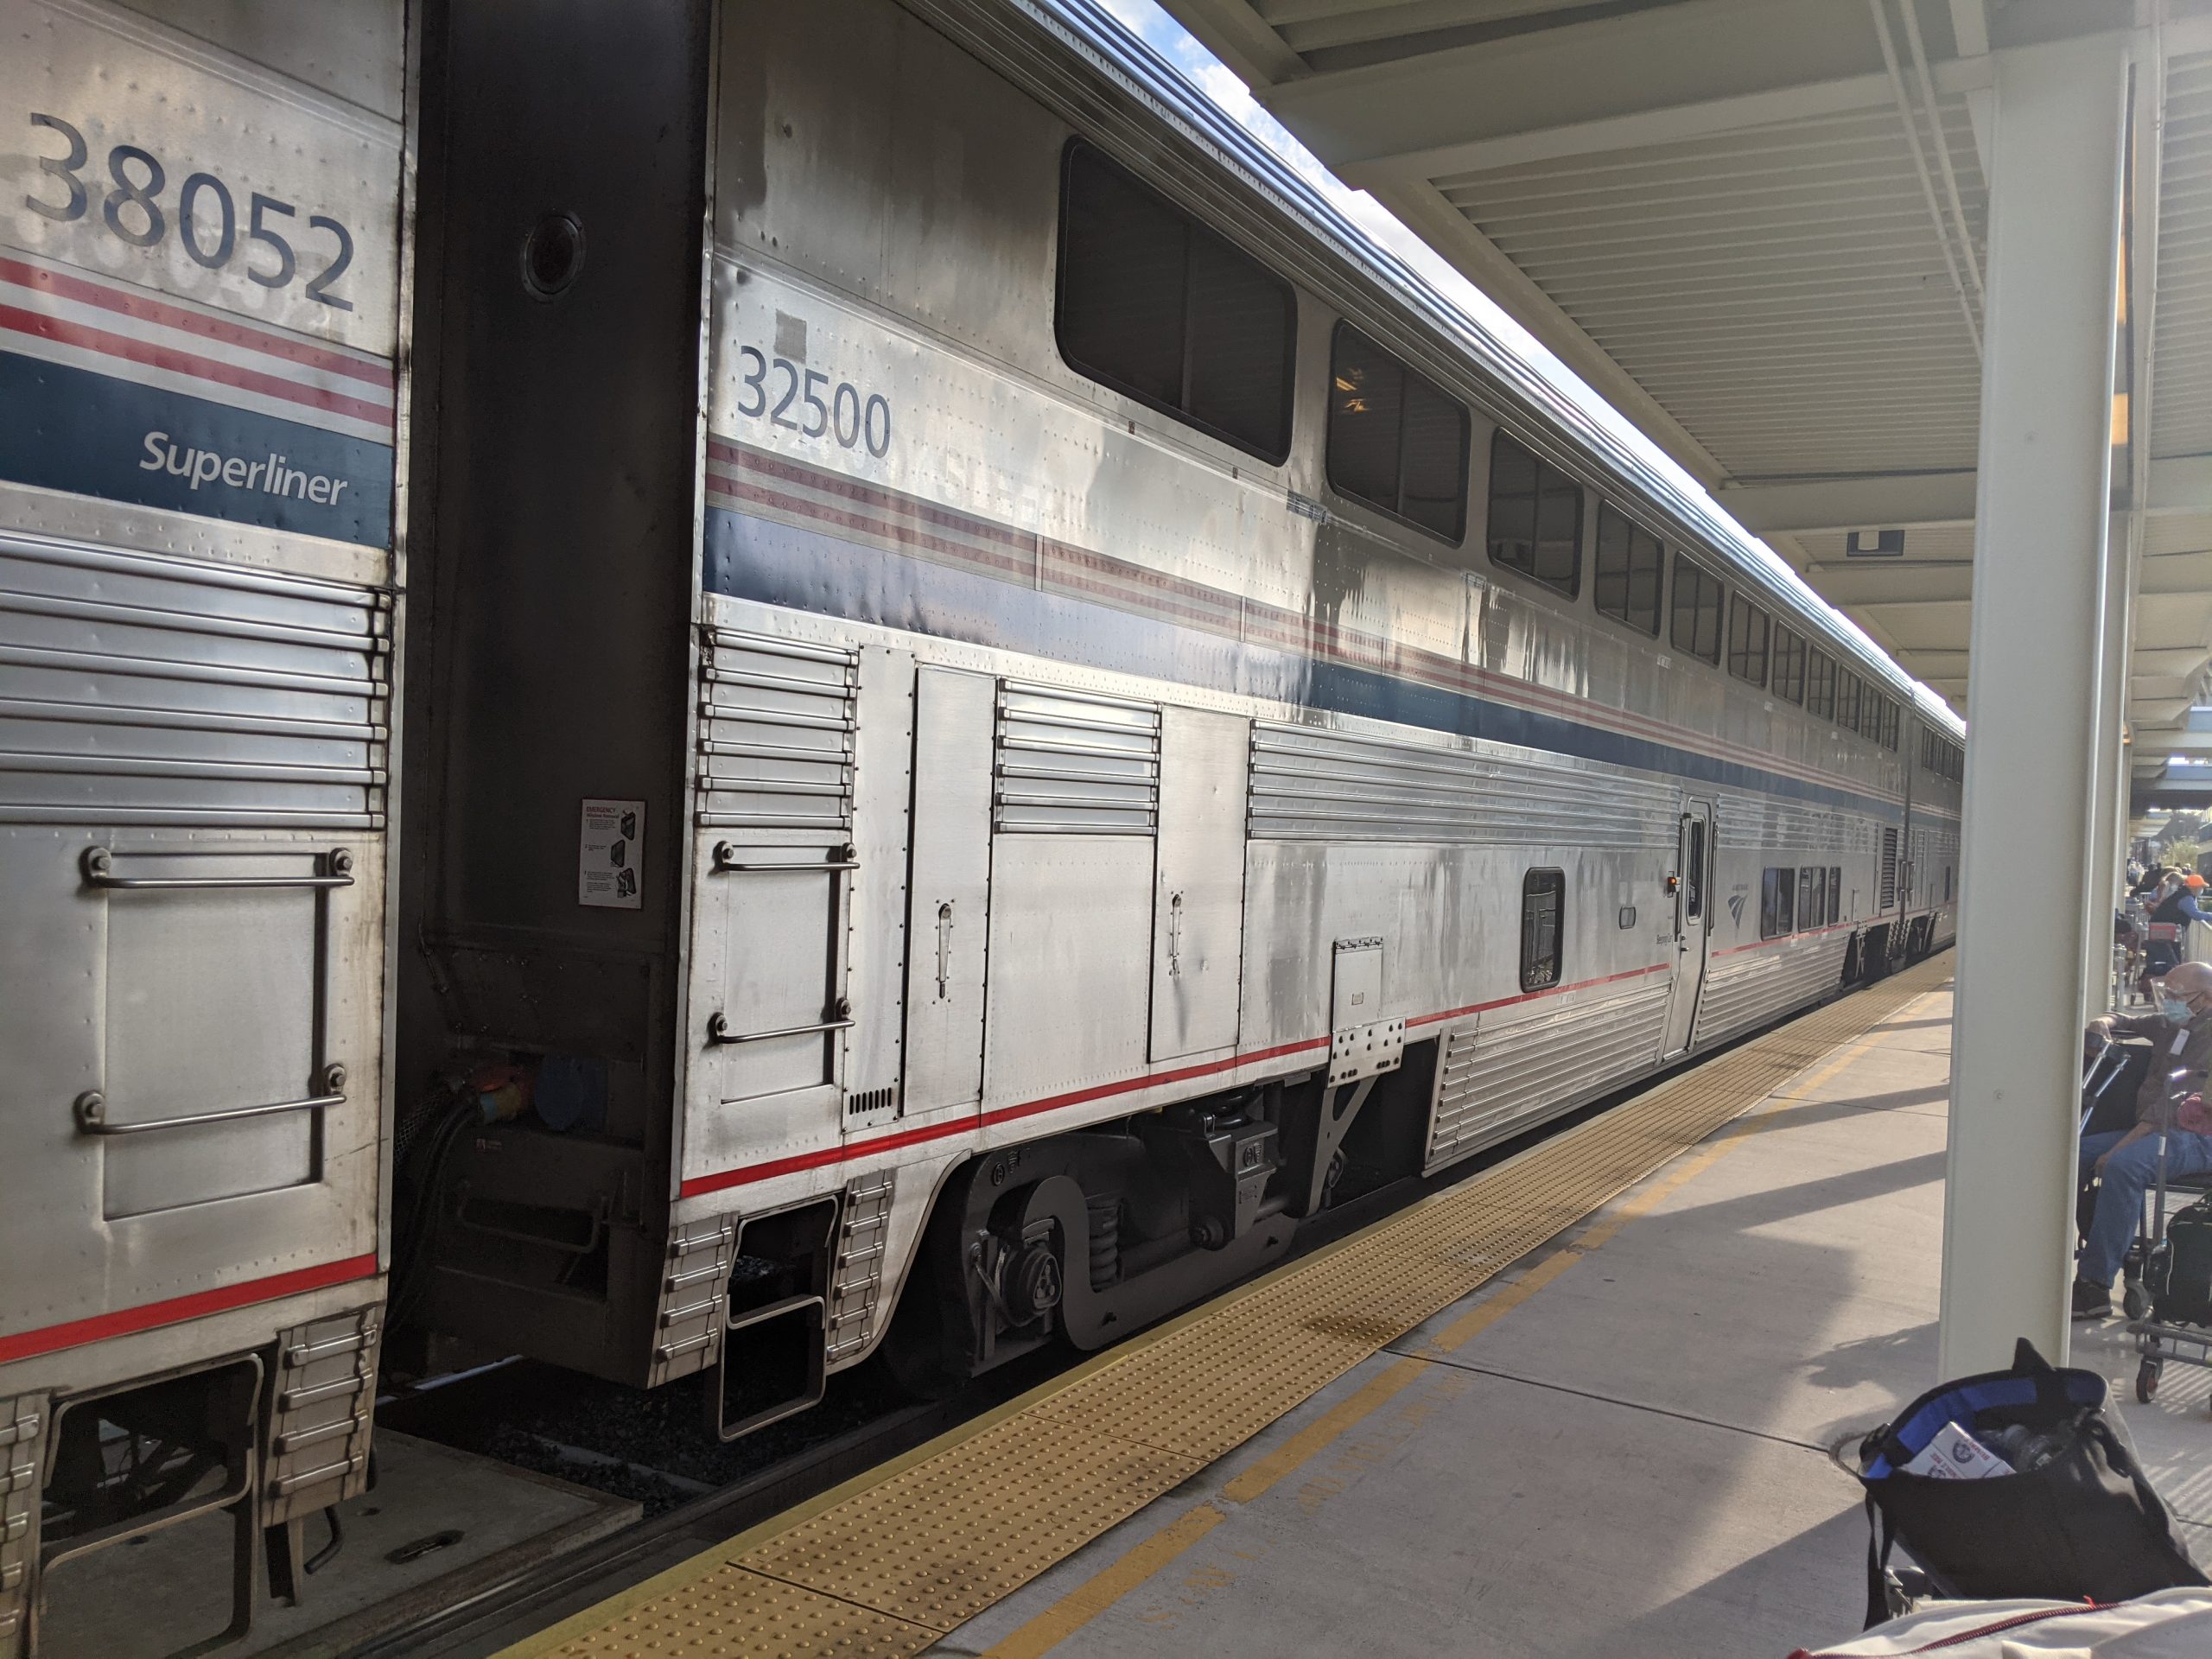
The Auto Train is unique for Amtrak in that it contains car carriers where you can bring your automobile. This worked perfectly for our needs. We drove from New York to Lorton and gave over our car.

The train has a maximum capacity of 320 vehicles. In order for you to buy a ticket, you must be bringing a car. Otherwise, there are other Amtrak trains.

To avoid traffic, we picked November 26…Thanksgiving Day. According to the announcement made, the train had 47 coach passengers, 141 sleepers, 114 vehicles and no motorcycles. So, about a third full.

My previous time on the Auto Train was May 10, 2010, from Sanford to Lorton. During that trip, where I wanted to experience the Auto Train, I’d been in a coach seat. As the whole purpose of this trip was isolation, this was the first time I got to experience a bedroom.

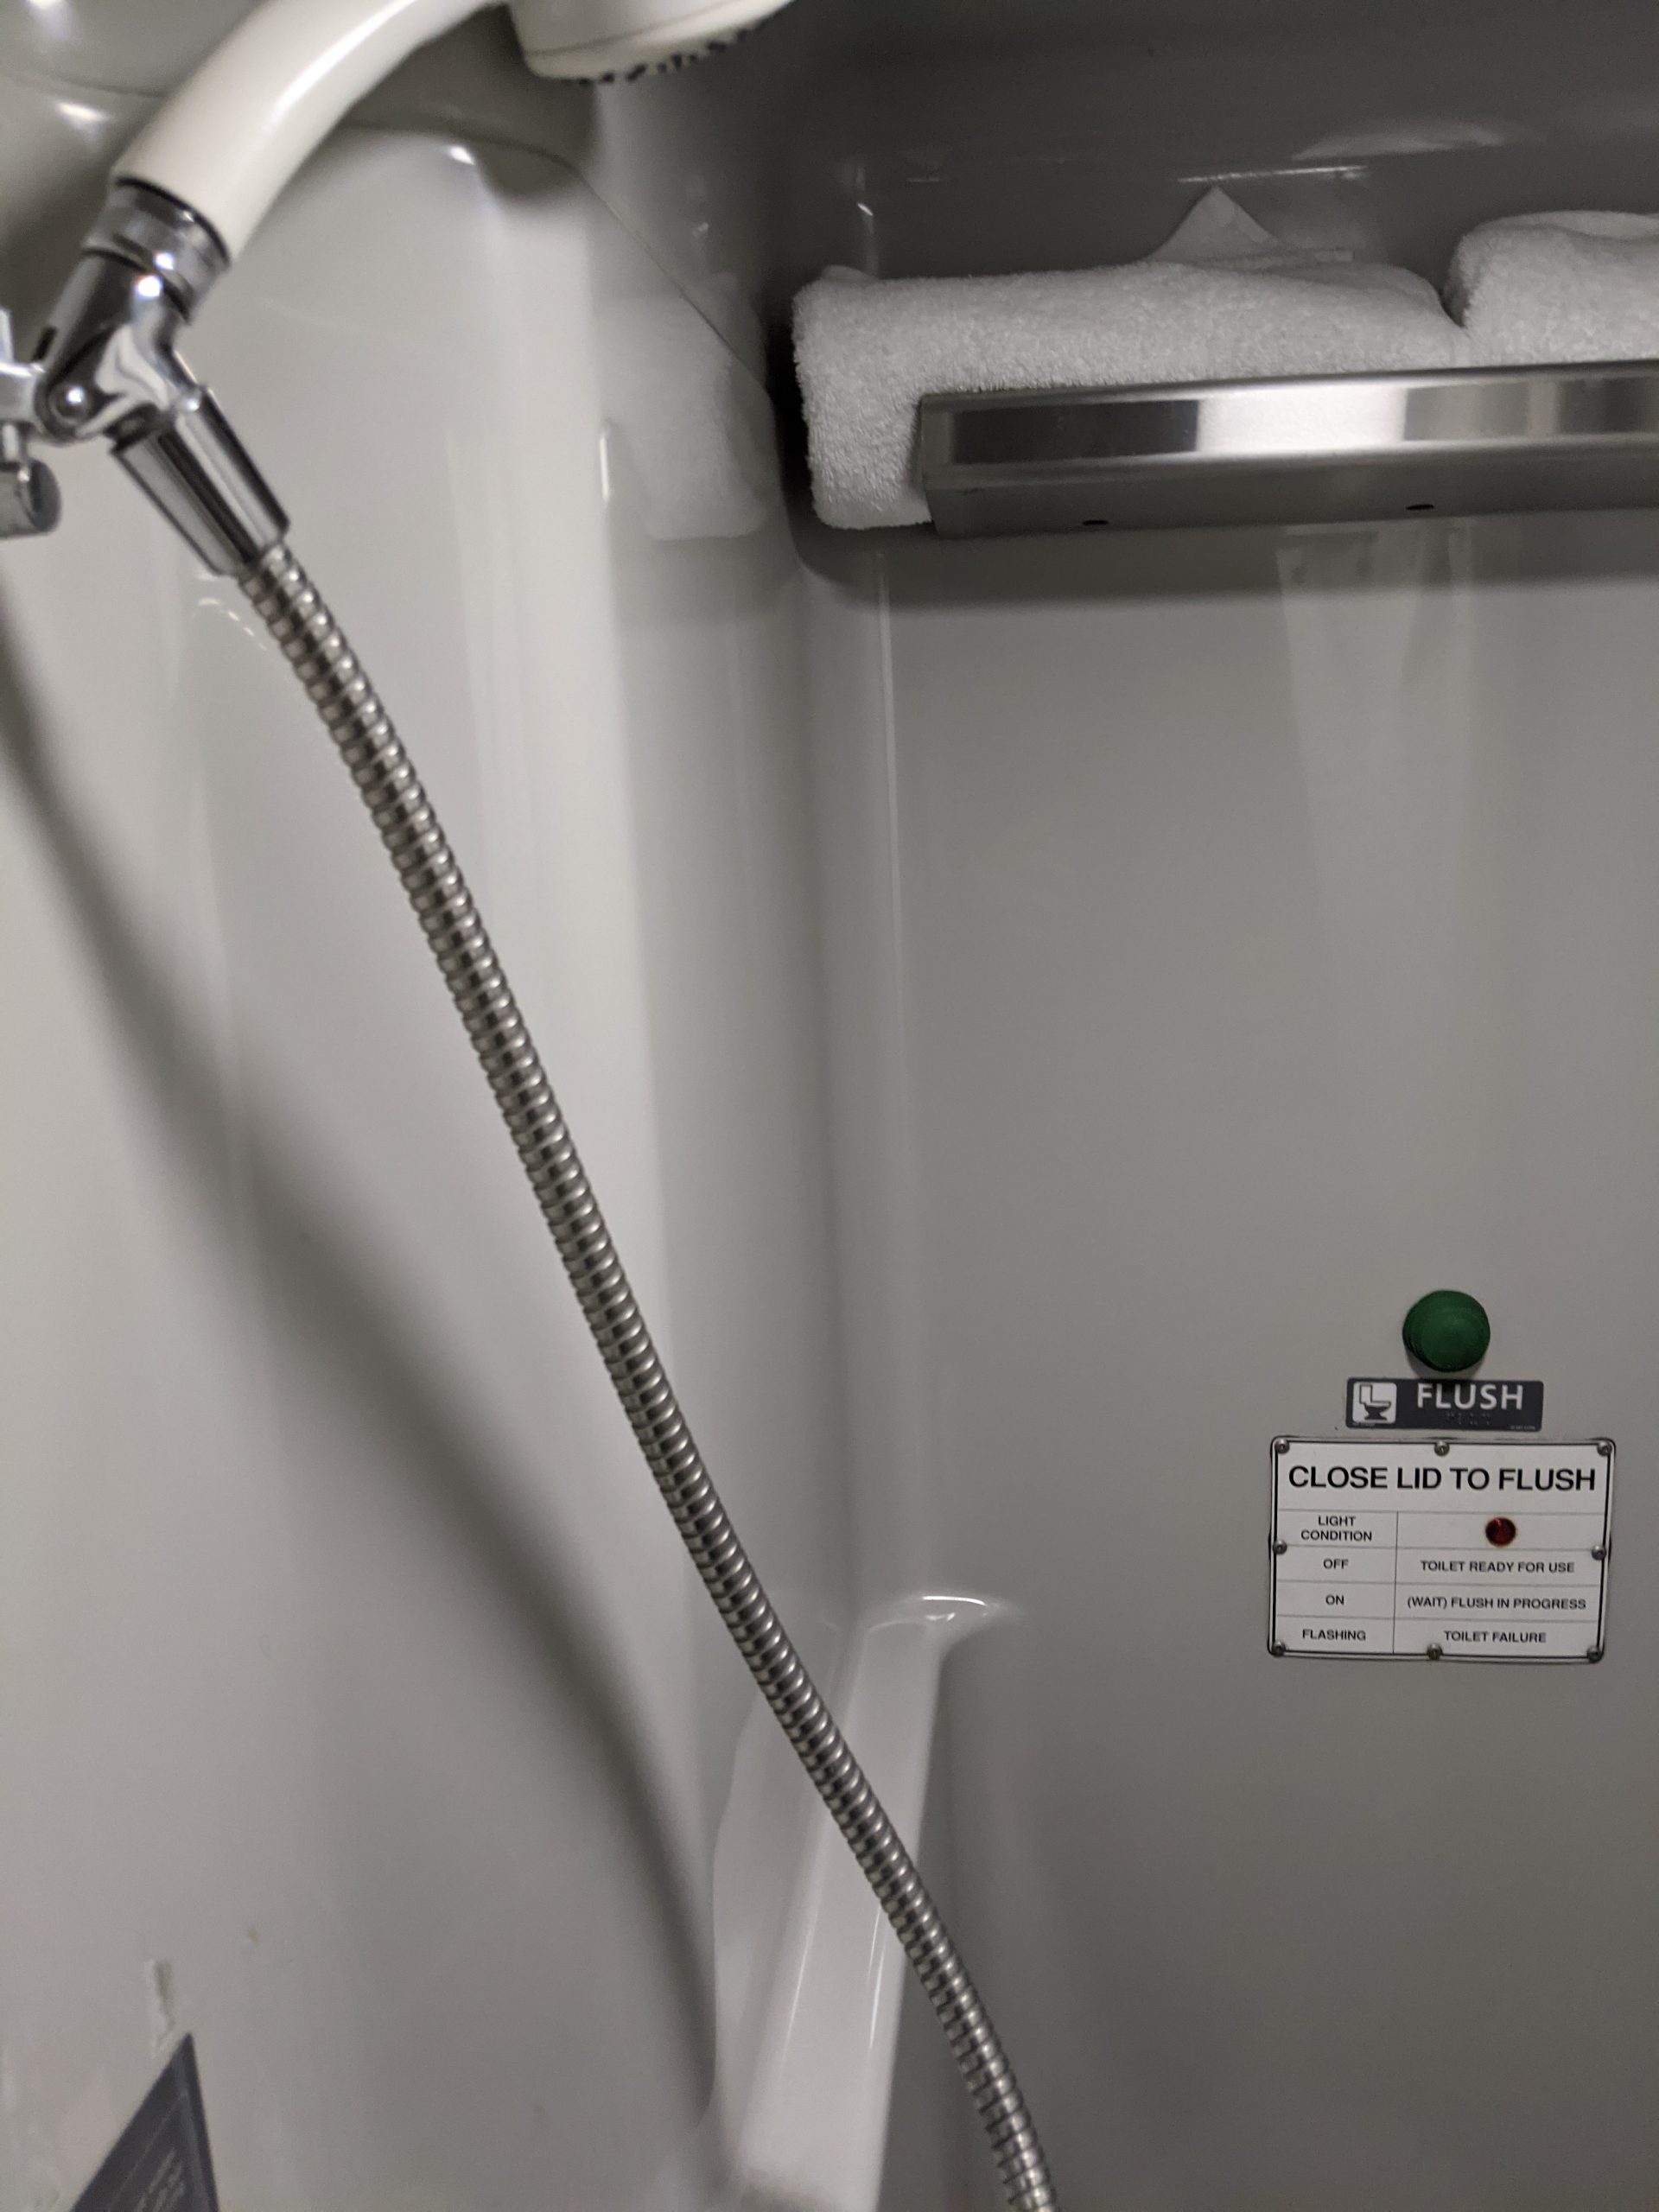
Amtrak bedroom toilet
Combined Toilet and Shower
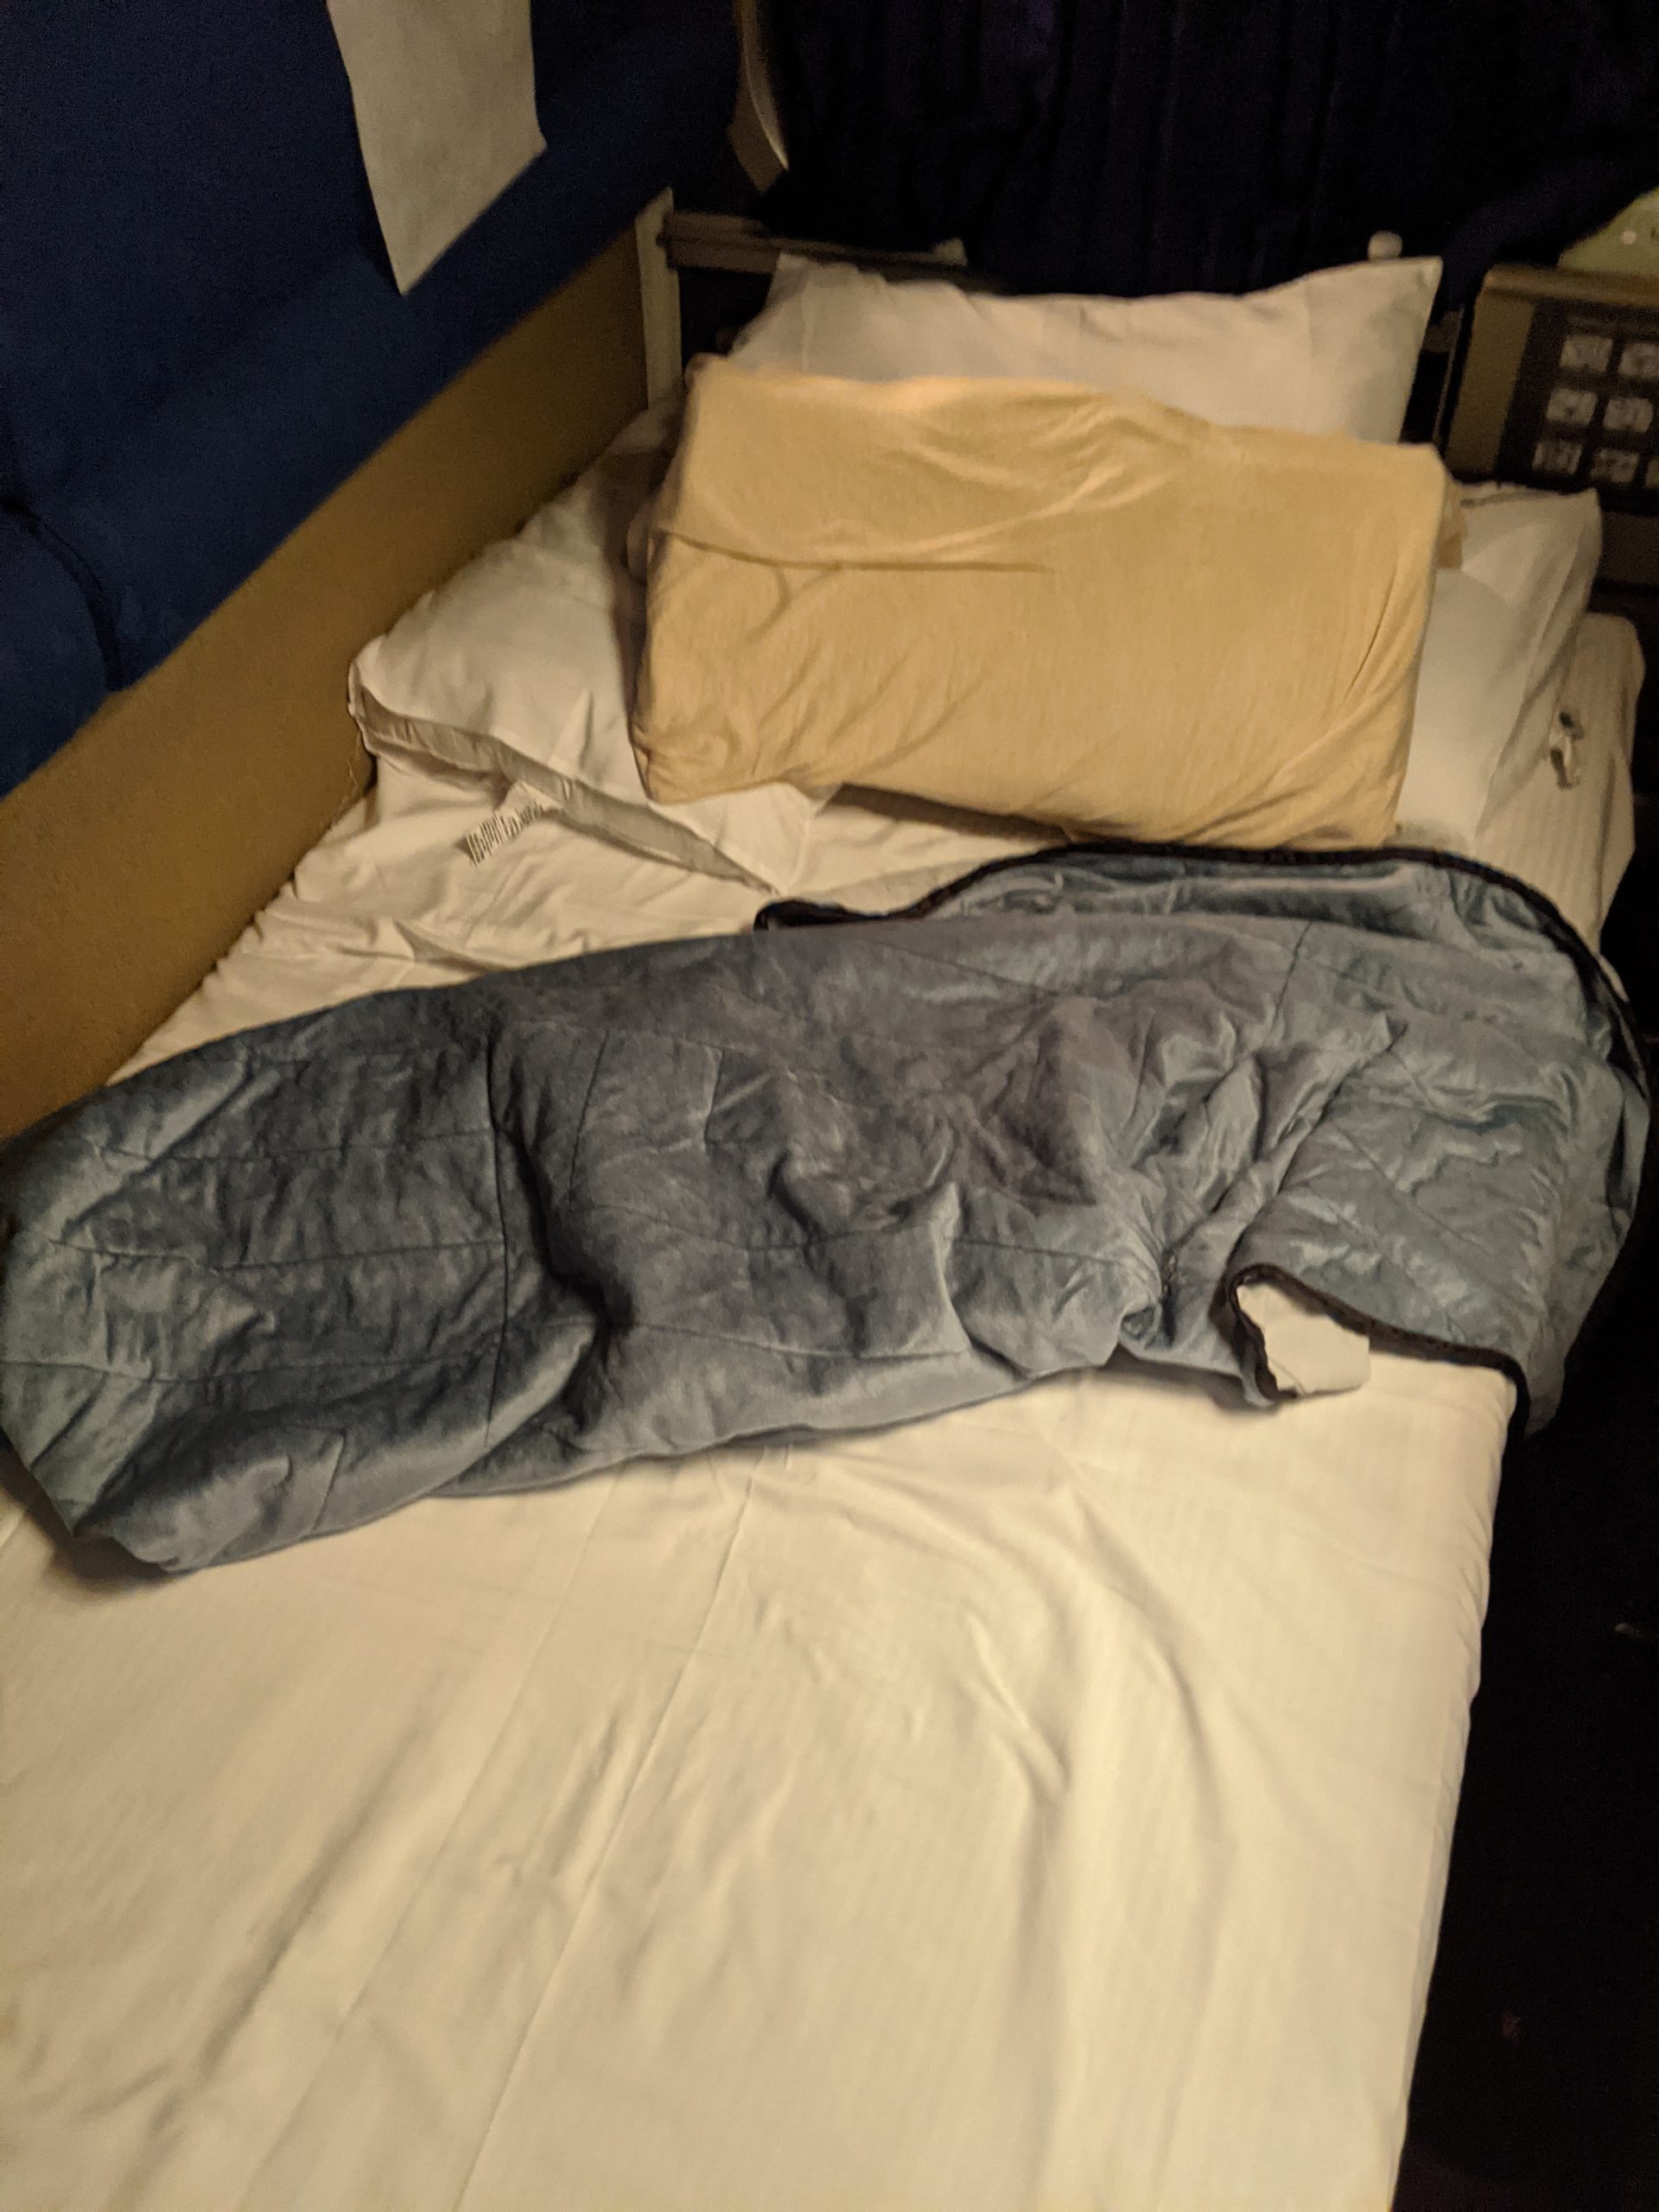
Time for Bed

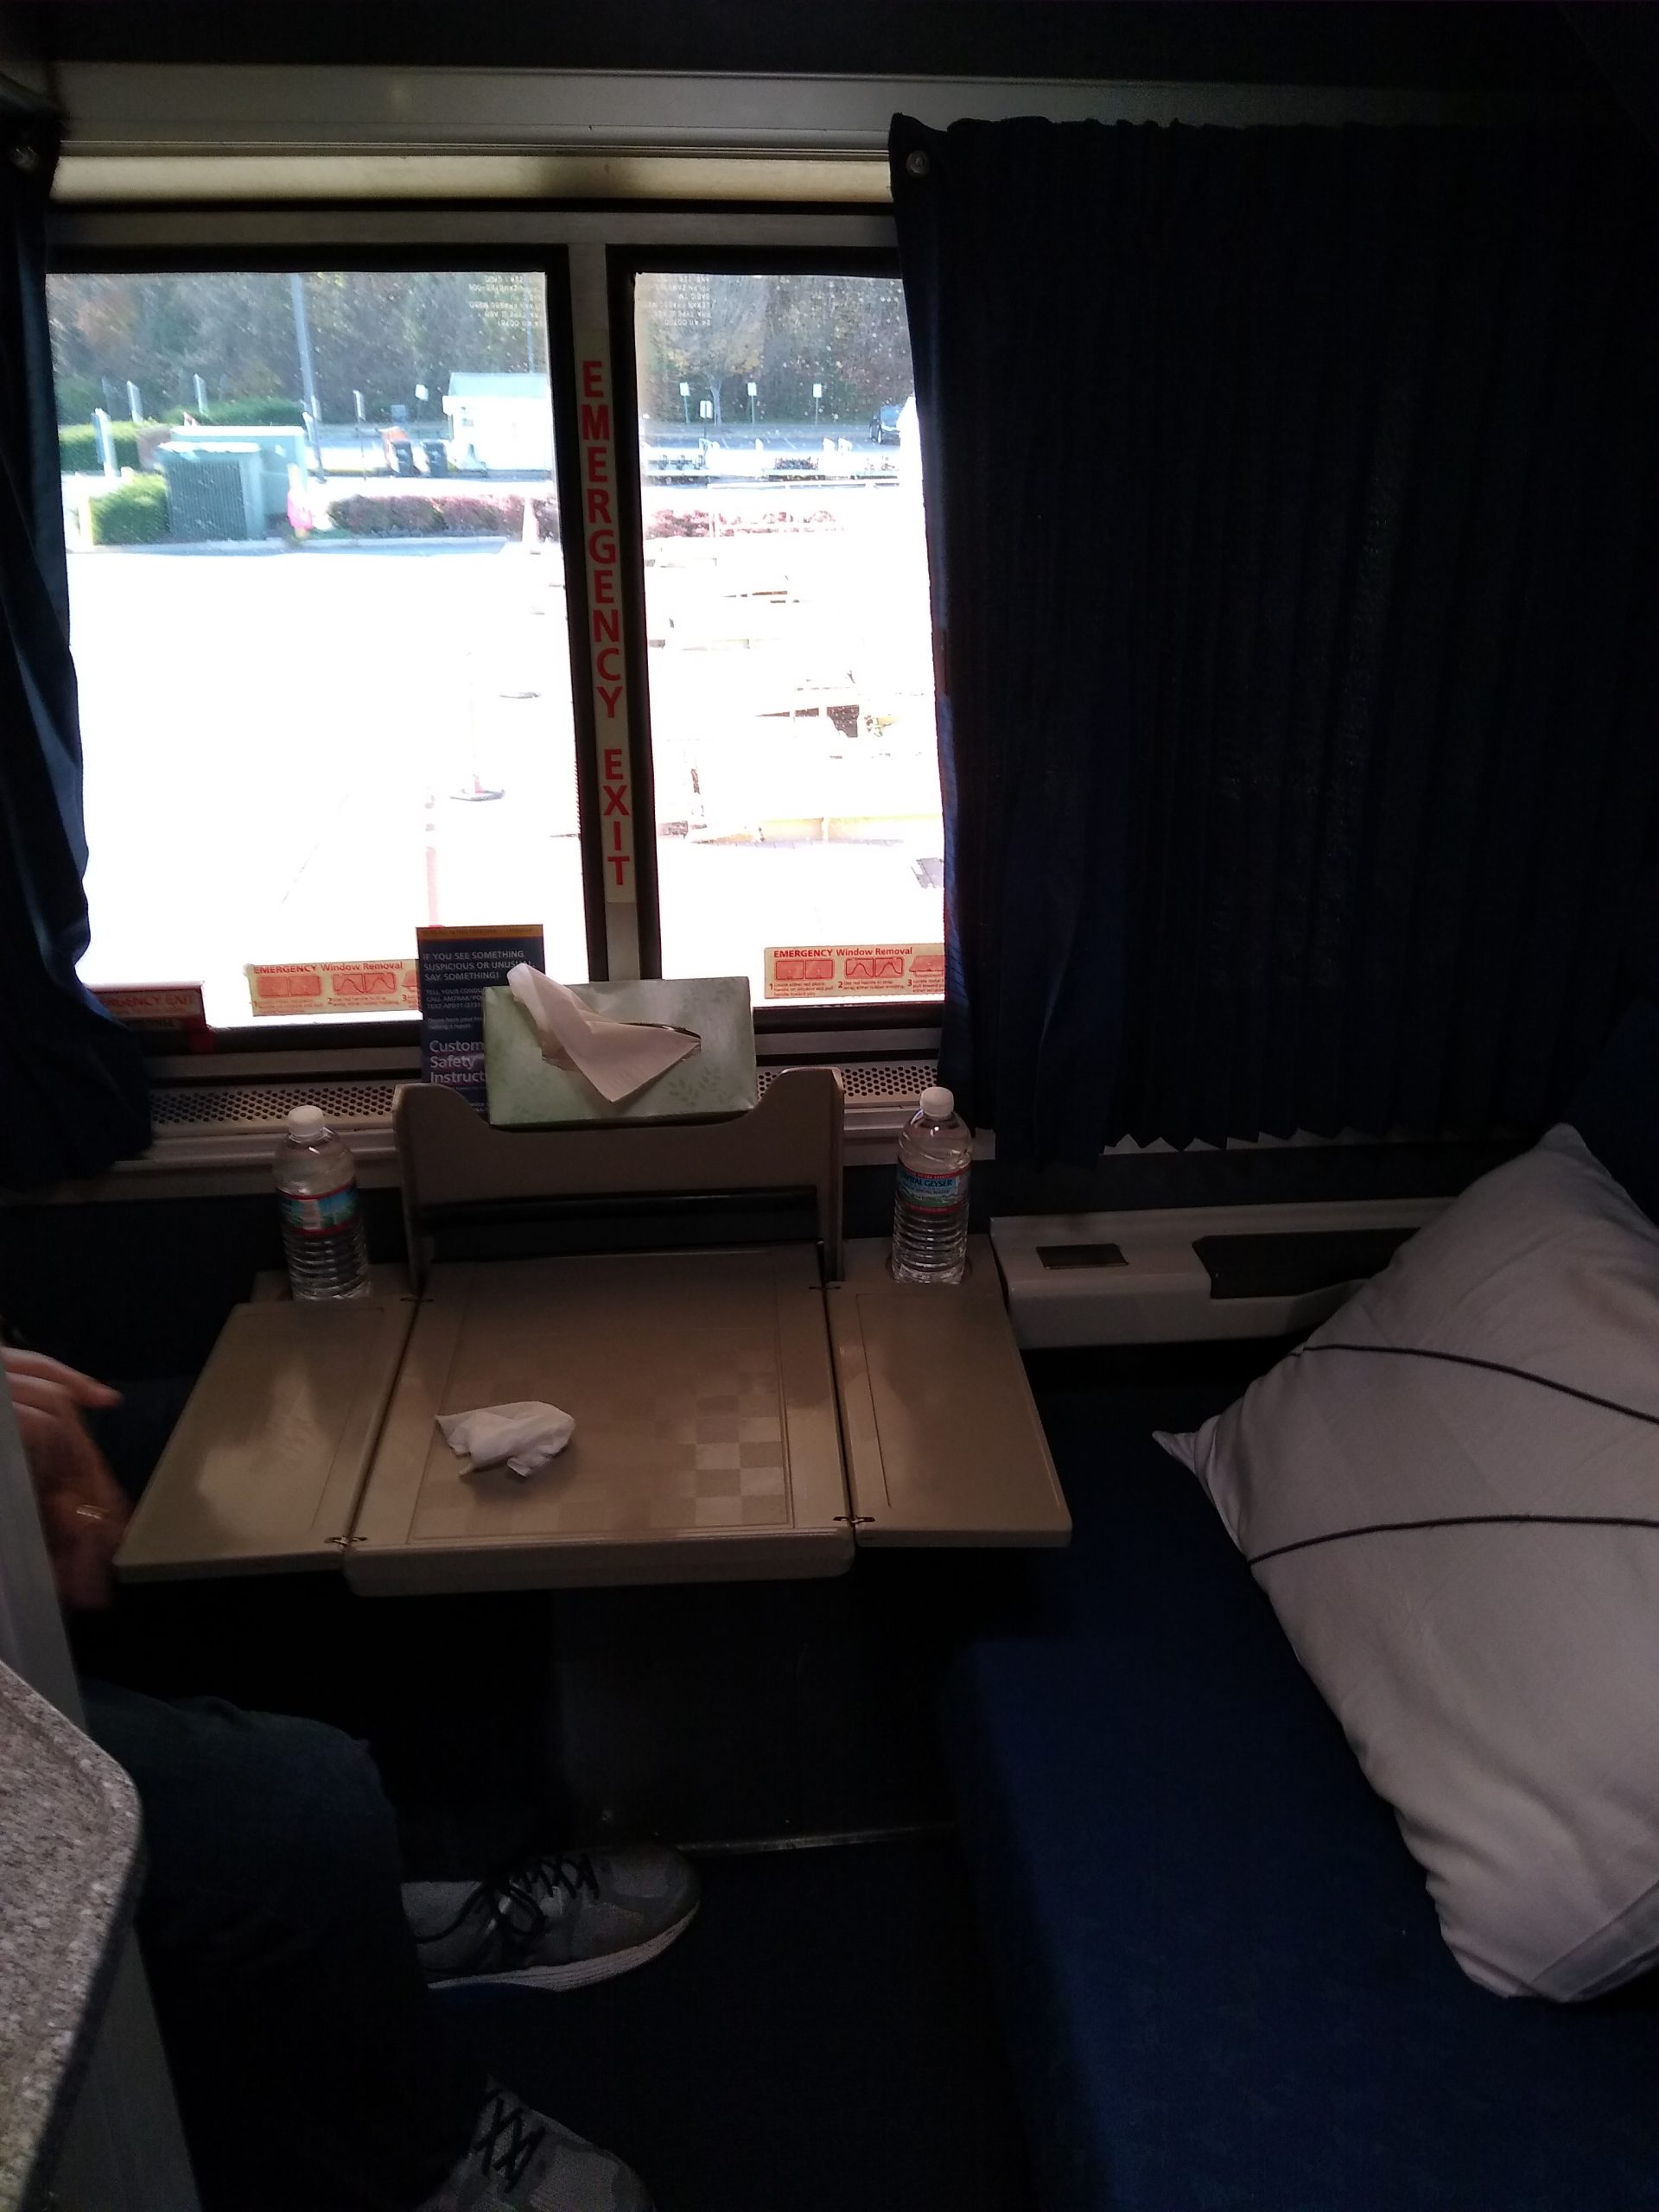
Amtrak offers roomettes, which do not include a bathroom and shower(it’s down the hall), and bedrooms, which include a combination bathroom shower. We opted for the bedroom so we could isolate.

Except when the attendant helped us set up the beds, and when we received our meals, we did not leave the room for the entire trip. As of this January, coach passengers do not have meals included in their fare, however, those who have rooms do and they will bring the food to your room.

Taking the train is an experience that I encourage. The advantage of the Autotrain is this….you bring your car along. On arrival in Sanford, we waited till they offloaded our car…wiped it with disinfectant, sprayed Lysol, and went on our way.

During the pandemic, Amtrak is requiring mask wearing at all times in their stations and on their trains, unless you have a room, in which case you may remove your mask in there only. They claim to clean the train thoroughly between uses, however we took no chances and disinfected it ourselves.

The last Amtrak train I’d taken before this was from San Diego to Anaheim in September 2019. Prior to that, Baltimore to New York City. I think Amtrak is best suited to the medium-distance journeys of 5 hours or less. But a long distance train trip is a unique adventure.


The Tamiami Trail

Taking some time off that needed to be used before the end of the year, and today, took a trip on the Tamiami Trail. This is part of my continued effort to get out, but yet avoid close contact with groups of people.

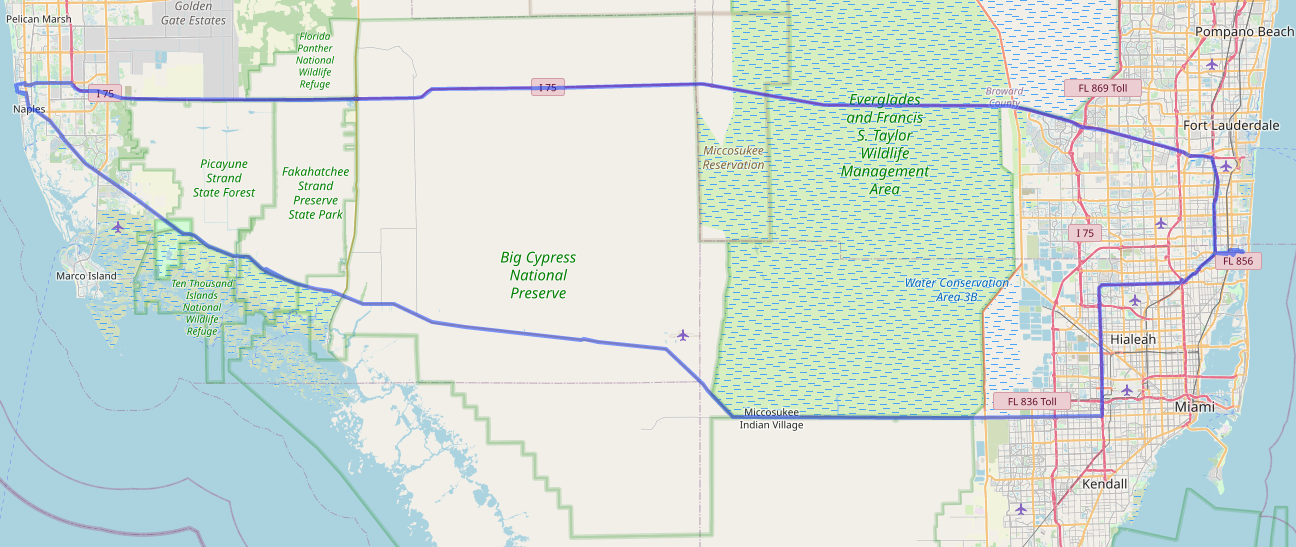
The Tamiami trail runs from Tampa to Miami, thus the name. We drove from Miami to Naples, Florida.  The Trail opened in 1928, but since 1968 when Alligator Alley(now I-75 from Naples to Miami) opened, it has been more sparsely used.

Along the early part of the route is the Dade-Collier Training Airport, whcih was meant to be a large Miami airport, but was halted after only one runway was built. The airport’s callsign is amusingly TNT. 2.6 million sticks of dynamite were used to build the Tamiami trail.

The Trail forms the northern border of Everglades National Park, which is the third-largest park in the United States. The trail is the dividing line between the Everglades National Park and the Big Cypress National Preserve. The Preserve is a cypress swamp, compared to the Everglades which is a submerged prairie.

Our first stop was the Oasis Visitor Center, which is a former airport hanger/restaurant, which adjourns the Oasis Ranger Station airport. While we didn’t go inside, we were able to, shown by a dedicated park ranger, see some alligators.

We also made a brief photo stop at the Ochopee Post Office, which was a former storage shed that serves a region of 130 miles.

From there, we headed to the Big Cypress Bend Boardwalk. This takes you into yet another park, the Fakahatchee Strand State Park. We walked a bit of the boardwalk, which goes about a half mile into the park. If you weren’t looking for it, you wouldn’t find the boardwalk. We parked at a closed building, and walked a dirt trail off the highway until we found the boardwalk, which continued for another half mile.

After that, the road passed through the Picayune Strand State Forest, and the Ten Thousand Islands National Wildlife Refuge. The Ten Thousand Islands are a chain of hundreds(not thousands) of islands that are mostly uninhabited.

The road also passes along the Miccosukee reservation and multiple villages.

Our final destination was Naples, Florida. there, we got a look at the Gulf Of Mexico at Lowdermilk Park, one of the many beach parks in the area, before turning back and returning on Alligator Alley, aka I-75, which is the faster, if less scenic route.


Simple Location 4.2.0 Released

Simple Location version 4.2.0 has been released. In edition to several under the hood improvements, such as standardizing units of measurement for the various weather providers and adding new optional parameters, it introduces the option of a custom and a fallback weather provider. The custom provider allows you to specify custom stations at designated URLs. The stations should return a json object with latitude and longitude as well as any provided weather properties as identified in the system. I’d love it if people implemented this simple json file and allowed others to pull weather data from them.

I built this feature for myself. Using my own weather data when possible has been a desire of mine. Now, my website is set to compare my location to that of the custom stations I’ve designated, in this case two under my control. If I am close, it will use that data. If not, it will go to the fallback provider. The same fallback can be set for regional providers, like the US National Weather service and the Met Office, in case you wander into untracked territory.

The functionality also works for the weather in my sidebar, where you’ll see additional parameters such as the readings from my particulate sensors and any sensors I add in the future.

Simple Location for WordPress 4.1.12 Released

A new version of Simple Location is out. Version 4.1.12 has many under the hood tweaks/fixes, and only one major user facing feature, a redo of the caching system. The caching system is used by the weather system to avoid poling for the weather on every refresh. There is now a setting in each widget to set the cache frequency. I recommend at least 300 seconds(5 minutes). The weather won’t change that much, and if you are using an API key, this will reduce, assuming your site gets 1 visit per second, requests from 86400 to only 288 times a time.

I did try to implement trip support in this version, but due to issues, I have pushed that off to rethink.

Fall Foliage Part 2

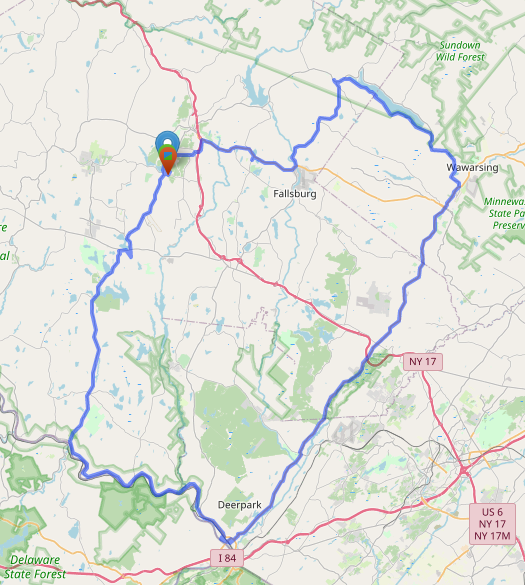
On Thursday, continued with the drive, taking another wide loop through Sullivan, Orange, and Ulster counties, completing a circuit of the Delaware Aqueduct reservoirs.

We took off through the village of Liberty, routing on Route 52 and Route 42 via Loch Sheldrake to Grahamsville, NY.

Loch Sheldrake was the site of Brown’s Hotel, which I stayed at as a kid. The resort hotels of the Catskills are a topic I could cover in a lot more detail, as it is a unique but also sad story. The Brown’s closed in the late 80s. It was converted into condos in the late 90s, and burned down in 2012.

The southern segment of Route 42 terminates at Route 55 near the Rondout Reservois, however, it used to continue north past this point. There is a portion of Route 42 further north that is no longer connected to the main southern segment.

Grahamsville NY is the site of the Little World’s Fair, the longest running independent fair in the state of New York, having been held since 1878. In 2020, due to the pandemic, the fair was cancelled for the first time since 1928, when the bridge to the fairgrounds was washed out.

Route 55 from Grahamsville heads out along the southern shore of the Rondout Reservoir. Route 55A is a loop around the other side of the same reservoir, and may be included in a future short trip.

Leaving the reservoir area and crossing into Ulster County, we headed through to the village of Napanoch, where we headed onto US Route 209.

From Port Jervis to Kingston, Route 209 runs along the former route of the D&H Canal, which was built in the 19th century, linking the Delaware River at Port Jervis with the Hudson River at Kingston and allowing coal from Pennsylvania to reach New York City. Ultimately, the railroads caused it to be abandoned by the beginning of the 21st century. Various parts of the canal exist as parks and other scenic/historical sightseeing opportunities.

The journey on Route 209 took us through Ellenville, which is part of the Shawangunk Mountains Scenic Byway, which includes the next stretch of Route 209.

The road crosses back and forth between Sullivan and Ulster County.  At Wurtsboro, it intersects with Route 17(Future I-86), and passes Wurtsboro Airport, believed to be the oldest operating glider airport in the country.

We continued through to Port Jervis, circling the city and passing the restored 1892 Erie Railroad Depot. We did not pass the Tri-States Monument, which marks the intersection nearby of New Jersey, New York, and Pennsylvania.

From Port Jervis, Route 97, which we took part of earlier in the week, begins and follows the path of the Delaware River, at many points a winding cliffside route that includes a beautiful view of the river.  Taking this all the way to Barryville along the river, we meet up again with the start of Route 55, returning to origin.

Fall Foliage Trip

Today, I took a little fall foliage trip up to Delaware County. This complimented a previous, shorter trip to Calicoon and Narrowsburg and yesterday’s trip out to the Neversink Reservoir.

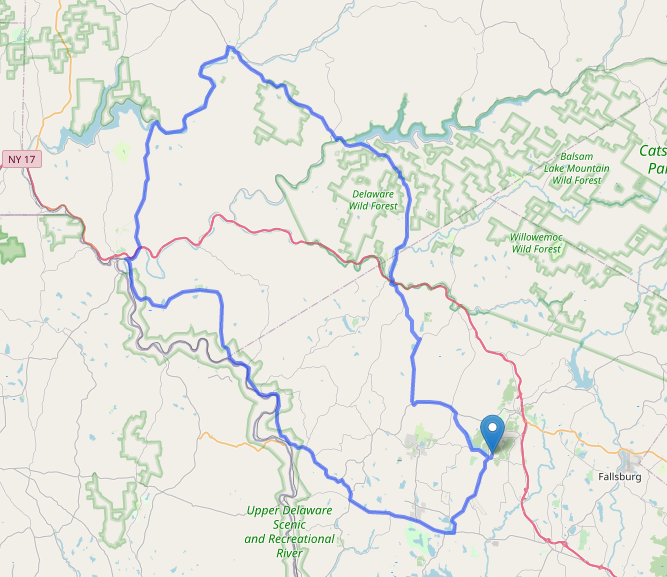
The trip took me down to Route 55, then to Route 17B, and on to Route 97 straight into Hancock. From Hancock, we took Route 268 to Route 10, to Route 206, to Downsville NY, then Route 206 back to Route 17(Future I-86)..but instead of getting back on, we took the scenic route around Swan Lake back to where we started.

Route 55 actually starts at Route 97 in Barryville, NY. The goal was to hug the water as much as possible, but taking 55 to its terminus with 97 would have taken me too far south.  So, Route 55 to White Lake, NY where I turned onto Route 17B.

Route 17B runs from Monticello to Callicoon. At Callicoon, we joined Route 97, which runs mostly along the Delaware from Port Jervis to Hancock. So, a lot of this route included picking up or taking roads to their end. Route 97, which was designated as the Upper Delaware Scenic Byway by FDR, is where we pick up the Delaware River, and parallel it and the railroad tracks through Long Eddy before moving from Sullivan County into Delaware County.

Heading into Downtown Hancock, we stopped for a scenic overlook, then turned onto Route 268, which starts in Hancock and runs along and then over the Cannonsville Reservoir. The Cannonsville Reservoir is the westernmost and the newest of New York City’s reservoirs, placed into service in 1964.  Cannonsville itself ceased to exist as a result.

Route 268 ends at Route 10, which starts 20 miles away in Deposit, which was a potential part of this route and may be the location of a future trip.

NY Route 10 continues from the reservoir to Walton NY, once again on the banks of the Delaware where it meets up with Route 206, which we took to its terminus in Roscoe, NY with Route 17(Future I-86).

Route 206 after Walton crosses the West Branch of the Delaware River and heads toward Downsville. We stopped at the Downsville Covered Bridge, built 1854, for a photo op, then returned to Route 206 past the Pepacton Reservoir which was completed in 1955.

Both Cannonsville and Pepacton empty into the Rondout Reservoir, as does the Neversink Reservoir I visited yesterday. The three reservoirs I visited collect here before headed to New York City via the Delaware Aqueduct, the newest of the three aqueducts that from the NYC water system and provide 50% of NYC’s water supply.

After the reservoir, we continued on Route 206 across the Beaver Kill en route back, passing through Roscoe…Trouttown USA….a mecca for fly fisherman, including Donald Trump Jr(who I have not seen there, nor am I interested in seeing).

All in all, the trip took 3 hours of driving.


Converting Your WordPress Theme for Microformats 2 Part 2

Okay, so four years after I wrote how to start Converting Your WordPress Theme for Microformats 2, I’m back with Part 2.

First, four years later, we need to recap, update, and expand what we discussed last time.

Before you start, you need to clean up two very simple things.

  •  Don’t style any Microformats Classes. WordPress commonly supports classic microformats. WordPress actually adds hentry, the predecessor to h-entry, into every single post in the post_class filter. So, you want to be able to supplement, replace, or fix Microformats classes without changing the look of your theme. So if you are updating a theme that already does this, add a styling class and change your CSS to do that. For example, I add entry alongside hentry and rewrite all the CSS to style entry, then I can take hentry out where it shouldn’t be.
  • Someone years ago decided to add hfeed to the header file of their theme and everyone copied it. hfeed indicates a page is a feed…which means it contains multiple entries(date archive, author archive, main posts page, etc). This should therefore not appear on a single page…so if it does, take it out.

Where do you start?

Add h-entry and h-feed in the proper places. See Part 1 for some sample code on how to do that using the body_class and post_class filters. You could also add it manually by surrounding your post, class="h-entry", and surrounding all the posts in an archive/feed page with an element that has class="h-feed" Congratulations, you’ve now marked up your posts as posts and your feeds as feeds.

Now that we’ve marked up feeds and posts, we want to get down deeper…namely, inside your posts. We want to mark up things like author, publish date, etc.

In most themes, time is already marked up, something like this, with an HTML5 time element. The full time is present in ISO8601 format, with the timezone offset for your site, and inside the tag is the human readable one.

<time datetime="2016-06-22T23:52:09-04:00">June 22, 2016</time>

You get two times per post..the published time and the updated time.  Many themes have the updated time visually hidden, but available for parsing. If you do not have a fully formatted timestamp in datetime, you should do so. Positively, since WordPress 5.3, the offset is properly set based on your site settings, where previously you had to edit the theme to get this. The displayed time is up to you.

Add class="dt-published" to the publish time of the post, and class="dt-updated" to the updated/modified time of the post.

We also, most importantly, want to make sure the author is marked up correctly. That should include, at minimum, the author’s name, if not URL and photo. All author properties should be surrounded by an element that has class="p-author h-card". The photo should have class="u-photo", indicating it is a representative photo of the element it is inside…the h-card. H-cards represent people, organizations, or places. By adding the p-author, we indicate that this person is the author of the piece. The p- tells the parser that whatever text is inside here is the value of the author property. You can also add a url for the author website, marking it class="u-url" which states it is the URL that represents the containing element…the h-card/author property.

Here is a simplified example of what this might look like…

<div class="h-entry">
<time class="dt-published" datetime="2016-06-22T23:52:09-04:00">June 22, 2016</time>
<span class="p-author h-card"><a class="u-url" href="https://joebloggs.com">Joe Bloggs</a><img class="u-photo" src="https://joebloggs.com/avatar.jpg" /></span>
</div>

So, if we run the new file through a Microformats parser(I like php.microformats.io), we’d get a nice output…

{
   "type": [
     "h-entry"
    ],
   "properties": {
     "url": [
       "https://joebloggs.com"
     ],
     "published": [
       "2016-06-22T23:52:09-04:00"
     ],
     "author": [
       {
         "type": [
           "h-card"
         ],
         "properties": {
           "photo": [
             "https://joebloggs.com/avatar.jpg"
           ],
           "name": [
             "Joe Bloggs"
           ]
         },
         "value": "Joe Bloggs"
         }
     ]
  }
}

Looks pretty good…except no content… Content is a bit more complicated, because WordPress stores content in the database, but when outputting it, puts it through a filter called “the_content”, which many plugins use to add things that aren’t content to the post.

Content is supposed to be wrapped in an element with the class="e-content". If we wrap the output of the_content, we might incorporate things from other plugins.

While it is by no means the most reliable way, my solution is to use the same content filter, but at the first priority, wrapping what original came out of post_content before all the other items.

You can do the same with the summary, if it exists, wrapping it in p-summary.

function add_econtent( $content ) {
  // Do Not Add this is it is a Feed.
  if ( is_feed() ) {
    return $content;
  }
  $wrap = '<div class="e-content">';
  // If there is no content, do not bother.
  if ( empty( $content ) ) {
    return $content;
  }
  return $wrap . $content . '</div>';
}
add_filter( 'the_content', 'add_econtent', 1 ); 

function add_psummary( $excerpt ) {
  // Do Not Add this is it is a Feed.
  if ( is_feed() ) {
    return $excerpt;
  }
  $wrap = '<div class="p-summary">';
  // If there is no excerpt, do not bother.
  if ( empty( $excerpt ) ) {
    return $excerpt;
  }
  return $wrap . $excerpt . '</div>';
}
add_filter( 'the_excerpt', 'add_psummary', 1 );

In the next part, we’ll dive even more into the weeds, talking about other classic microformats and rel-values and what to do with them. Probably before 2024.

Post Kinds 3.4.0 Released

Post Kinds 3.4.0 was released. If I broke your site, I’m sorry. Please tell me so I can fix it. I tried to cover everything, but I wrote a lot of the storage code and will have to continue to do so in preparation for the next iteration at some point in the future.

A lot of the code focused on fixing the storage and display of media. Whenever you save a post, your content is searched for image, video, and audio tags. If there are any, it will ignore anything in these properties sent by Micropub or saved otherwise. If it finds none, it will. This should hopefully reduce duplicate displays.

Shortly after 3.4.0 went out, I found another bug, so quickly released 3.4.1. If additional bugs are found, I’ll quickly iterate.

Consistent Microformats

One of the problems in consuming microformats is consistency. There are a variety of different ways people structure their pages.

Many people have written code to solve this problem. I do it in my library, Parse This. Aaron Parecki does it in his XRay library.  The Microsub specification has a stricter jf2 output in order to simplify the client having to make all sorts of checks.

This is the point. It is easier to consume a clean and consistent parsed microformats structure.  Some of this would probably be solved by some consensus on the matter.

So, what does Parse This, and its ilk do? I lack a name for this sort of code.

  • It has two options: feed or single return
  • Feed tries to identify and standardize an h-feed. This means if there are multiple top level h- items, it will try to convert it into an h-feed.
  • Single will try to identify the top level h- item that matches the URL of the page.
  • In both cases, it will run authorship discovery in order to find the representative author and add this as an author property to the h-feed, or single h-entry etc.
  • It will try to run post type discovery.


Micropub 2.2.0 for WordPress Released

Micropub 2.2.0 has one major change in it. IndieAuth client code was removed. This code now lives in the IndieAuth plugin. This means that Micropub does not check for scopes. It uses the built-in WordPress capability system to determine if an action should be performed.

The IndieAuth plugin limits capabilities based on scope as of Version 3.5.0, so the capability checks will work perfectly.

On a practical note, this allows the code to be simpler on the Micropub side. The scope limiting code is unit tested now inside the IndieAuth plugin and will continue to be iterated on there.

This allows Micropub to focus on the publishing side of things. Also, there was a request to remove a dependency on IndieAuth.com as the default for the built-in code. The IndieAuth plugin has no external site dependencies by default.

IndieAuth 3.5.0 for WordPress Released

Earlier in the week, I noted the release of IndieAuth 3.5.0, but I didn’t explain the major under the hood changes that occurred here in a post, which I need to do as at least one person is experiencing issues(probably necessitating a 3.5.1 as soon as I figure out why.)

I also noted I forgot to describe this clearly in the readme, if people read changelogs and will have to correct that as well.  I wrote some of this code in January and it was merged, but didn’t release it till July, so…

IndieAuth 3.5.0 implements scope support. Previously, scopes were handled by the Micropub plugin. It would check what scopes you had and implement accordingly. But WordPress does not have the concept of scopes. It has the concept of capabilities. And users have roles, which are collections of capabilities.

So Indieauth 3.5.0 implements scopes also as collections of capabilities. If you are doing a capability check in WordPress, and the request was authenticated with an IndieAuth token specifically, it will filter your capabilities by the ones defined in the scopes the token has.

That means if your user didn’t have the capability to begin with, you can’t use it. In a future version, I’ve considered on the authorization screen, not even issuing a token with that scope, but this is ultimately more secure than before.

It means that plugins don’t have to understand scope at all. They just have to enforce and support native WordPress capabilities, which they should anyway.

For now, the system only supports built-in capabilities, but there is nothing that says it cannot move to custom capabilities as needed, as everything is filterable and we accept pull requests.

The second big change I did mention in the changelog brings the code to support using a remote IndieAuth endpoint back into this code. However, it is disabled by default. This is based on the code removed from Micropub, which had a parallel IndieAuth class that was only used when the IndieAuth plugin was not enabled. By having it here, it allows anyone who wants to use it to enable it, but simplifies the experience for the bulk of users. It also allows it to be enhanced by any of the scope or other enhancements put into the main plugin.

The plugin also simplifies the site checks to ensure that your site will work with the plugin, putting them into the Site Health checks where they logically belong. This includes an SSL check and a Authorization header check.

People Seem Confused about IndieAuth

When I first started in the IndieWeb community, IndieAuth confused me. It confused me up until I built an IndieAuth endpoint for WordPress. It may confuse you as well. And that has been a problem in its adoption.

The biggest confusion seems to be conflating IndieAuth and IndieAuth.com. IndieAuth.com is a reference implementation of the protocol built by Aaron Parecki, who edited the IndieAuth specification. Aaron works extensively with OAuth as part of his day job.

OAuth is that technology you see all around the web. It allows you to log into one site using the credentials of another. So, “Sign in with Google”, “Sign in with Facebook”, etc. The site you signed into uses one of these sites to verify your identity.

IndieAuth is a layer on top of that. It allows you to sign in with your website. So, to login you provide the URL of that site, which represents your identity. The client goes and retrieves your site, and looks for hidden links to your IndieAuth endpoints and asks you to verify your identity to it. Then, once you have, it issues permission to the client to act as you, with whatever permissions you have approved.

IndieAuth.com, being a reference implementation, wouldn’t know how to verify your identity. So, it uses a workaround called RelMeAuth. If you put a link on your website to your GitHub account, or other sites that support OAuth, marked up in HTML with rel=”me”, it would go to the sites of those services it supported, check to see if, using the GitHub example, if your GitHub profile had a link back to your website. This would prove your GitHub account and your website were owned by the same person. Then if you could successfully authenticate to GitHub, it would then issue the client the permissions it requested.

Since for IndieAuth.com to work with your site, you had to link to it on your site in a certain way, designating it as the authentication endpoint for that URL, it meant that unless someone had the ability to edit your page(a bigger problem), they couldn’t use it to get into your site.

But IndieAuth.com isn’t meant to be a permanent service and the fact people think that IndieAuth.com = IndieAuth the protocol is a problem. It is meant to be a bridge for people.

So, I came in, naively, when I started using IndieAuth.com and said…I want to do the same thing, but I don’t want to log in using GitHub…I want to log in using my WordPress credentials. So, in 2018, I learned enough to write an IndieAuth endpoint for WordPress. So, you can, instead of putting indieauth.com as your provider, install a WordPress plugin and your site will become a provider.

Try to login with your URL and it will redirect to letting you login with WordPress, then issue credentials to the client in the form of a token that can be revoked from the WordPress admin.

But people continue to see IndieAuth as logging into other websites via IndieAuth.com and therefore via GitHub…that can certainly be a service and a thing you can do. However, that’s not IndieAuth.

So, going forward, I’ve decided that I’ll be disabling the code from the IndieWeb WordPress plugin that allows you to use IndieAuth.com in favor of the built-in solution. Those who want to use an external service will still be able to do so, but this will be an ‘expert’ feature. Because enabling a plugin and it just working is what most people want.

And if it doesn’t work, please report the bug and we’ll fix it.

Simple Location 4.1.6/7 Released

I didn’t plan on doing another Simple Location run, or having to immediately release a fix due a mistake. This change was prompted by a new request to allow for saving maps locally.

For various reasons, I was reluctant to do that. But I came up with another solution. Adding a map provider that supports a custom hosted service. In this case, a fork of a Static Maps API written 6 years ago by someone I know. You can find my fork here.

By using a self-hosted but external static map API, I keep the option out of the plugin for now.  It will also work with anything that implements the same API.

In the same update, I also fixed a few bugs, and added moonrise and moonset calculations, which display along with sunrise, sunset, and moon phase in the Last Seen widget for now.